Tutorial: Create a Split Level Room in The Sims 4
This is a quick and simple tutorial for creating split level rooms in The Sims 4. They are also called, sunken rooms or lowered rooms.
Step 1 – Create a room with the Wall Tool – B.
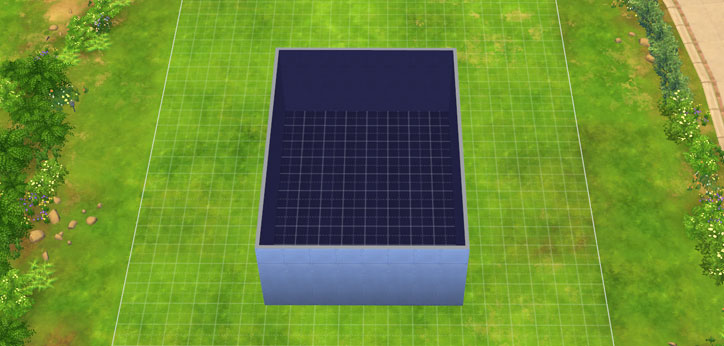
Step 2 – Add foundation to your build. The height doesn’t matter because it will all work. You can change the foundation height after, to get the desired height for your split level room.
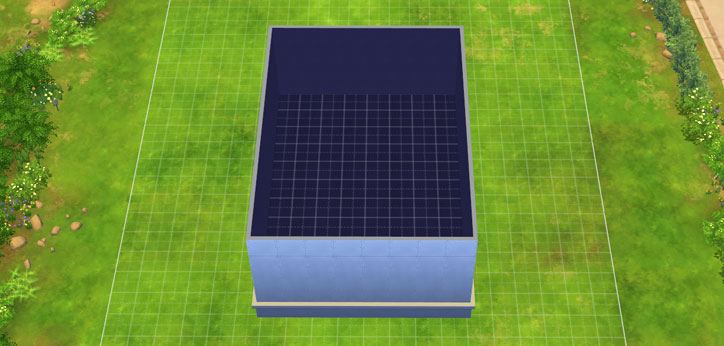
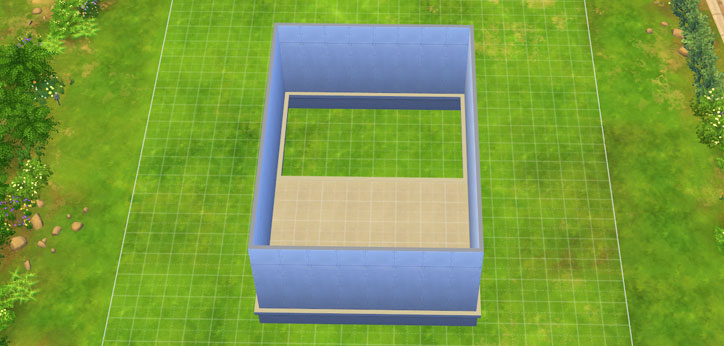
Step 3 – Drag a wall with the Wall Tool – B too mark your lowered room.
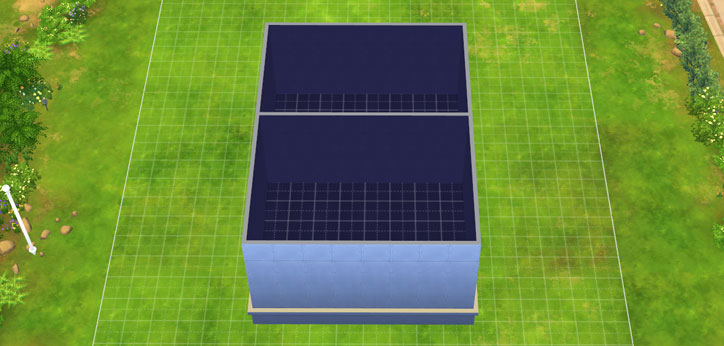
Step 4 – Click on the Sledgehammer – K and delete the floor that needs to be lowered.
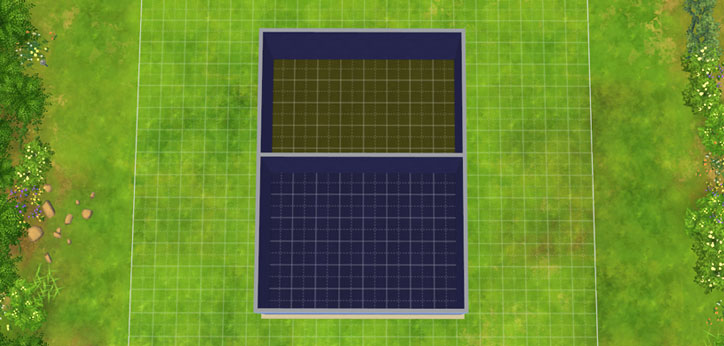
Step 5 – Delete the wall between the lowered room and the elevated room to make it one.
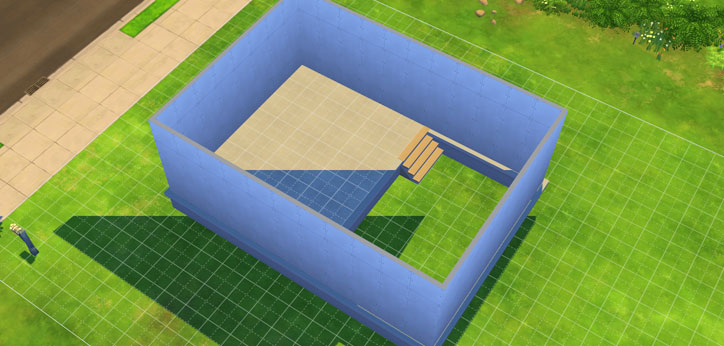
Step 6 – Place a stairs to make the sunken room accessible for your Sims.
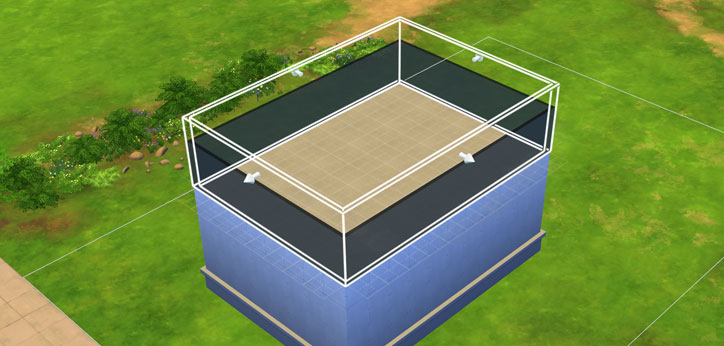
Step 7 – Create a ceiling on top of the room. You can do this by placing a second floor, a flat square or a roof.
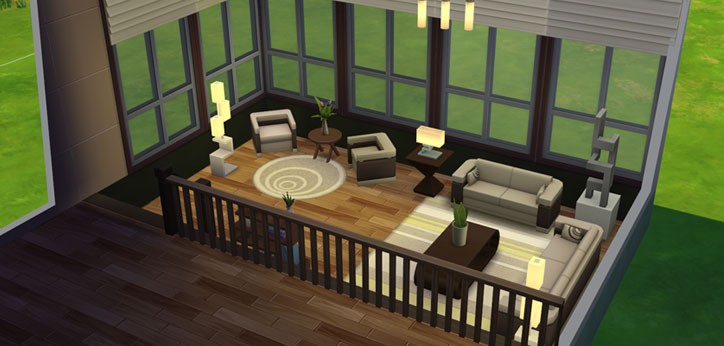
Step 8 – That’s it! Now you can decorate the living room, bedroom, dining room or any other room you build.


that was great! I always wanted to make my houses like this, thanks!!
It won’t let me add flooring to the ground floor of my spilt level. I did this step by step. Doesn’t work. What am I doing wrong?
I had to do it individually and not by the room itself, so maybe that’s all you have to do?
Have you tried doing one by one
Hi..
i did everything as you said but my sims cant go down to the livinroom, they just stand there and yelling, what should i do?
Thank you very much. This is a very useful site. So glad I found it. 😀
Well, it certainly LOOKS good, but the question is: Will this work and can I use this build style in a City Living apartment?
You can’t use it on a City Living Apartment. I believe the game doesn’t allow it.
I’m glad I found this…I was doing it all wrong before…… Thanks!